Tips for deep cleaning your bathroom
Project summary
Over 35 Years Trading
Accredited and Experienced
Happy Customers
A good deep clean isn’t too much of a challenge once you get into the swing of it but over reliance on chemical sprays, bleaches and other fume causing chemicals and make it unpleasant and expensive!
Here are six-bathroom cleaning tips to help you get started
1. Have a clear out
If you have a window, open it wide to allow air to circulate once you bring out any cleaning supplies. If you don’t have a window, turn on the fan and open all doors.
Start by clearing everything from your surfaces, weed out the empty and unnecessary bottles and put the remainder to one side.
Collect up any bath mats, shower curtains, towels and cloths and pop them into the washing machine for a thorough wash and line dry if possible.
To tackle mildew on a shower curtain, add a scoop of bicarbonate of soda to your washing powder and put it on a 30-degree wash in your washing machine. If your shower curtain is plastic, then at this stage you can hang it out to dry. If it’s fabric then put it through a rinse cycle, adding 100ml of distilled white vinegar, then hang it out to dry.
Using a clean cloth sprayed with a little distilled white vinegar or anti-bacterial spray wipe down items such as your shampoo and conditioner bottles. Also, clean your toothbrush! (sterilising tablets are excellent for this, did you know that your toothbrush handle can have 50 times more germs than your toilet seat?)
Later remove everything remaining from the bathroom and place them elsewhere to dry. Removing all of the clutter from your bathroom will give you enough space to get on with deep cleaning on the floor and surfaces.
2. Vacuum or sweep
Whether it’s hair or dust, it all ends up on your bathroom surfaces. This is why vacuuming or sweeping before you start washing is sensible, it also gives you a chance to get in behind the toilet and in and around any cabinets or corners.
Once you have finished, don’t forget to give the head of the vacuum attachment a quick clean before putting it away.
3. Wipe down and sanitise (if you touch it, sanitise it)
Deep cleaning your bathroom involves reaching all spaces, even those you don’t think of very often. Use a disinfecting spray and clean cloth to sanitise all surfaces including the shower tray.
Give your vanity unit a good scrub if you have one. Don’t forget the cabinet doors, shelves, sinks, doorknobs, and taps. Make sure to include the bathroom window and its handle.
A good guide is to sanitise all the surfaces you touch, sit and step on in your bathroom at least once a week (or everyday if there is any illness in the household).
One of the most difficult areas to clean properly in your bathroom are the areas within the window and in the shower door tracks. Dirt and hard water build-up gets caked in and it is difficult to get in there and clean it all out properly. All you really need is an old toothbrush, vinegar and baking soda to get the job done quickly and easily. Spray the solution on and use paper towels and a butter knife or chopstick to get right into all the corners for a thorough job. (this also works for grubby grout!)
Grubby grout can spoil even the nicest bathroom. Cleaning bathroom grout can be a nightmare but there are tricks to keep it fresh. Mix a little bicarb with water to make a thick paste and use an old toothbrush to rub this mixture on to the dirty grout making sure to scrub the mixture well in. Fill a spray bottle with equal measures of white vinegar and water. Spray this mixture over the paste you applied on the grout. Watch as the bubbles form and leave for around 10 minutes.
Gently scrub using the toothbrush and rinse well with water. Repeat until the grout is back to its original colour!
4. The tub and shower
Its best to avoid bleach in your bath tub. Many manufacturers often give a warning about using bleach and it may well void the bathtub’s warranty.
But if cleaning a fiberglass or porcelain tub, bleach should be safe, but always double check. Also bleach can harm some sealants so its best avoided in general.
For your shower, always take a moment to wipe down and squeegee the walls and the doors after every use (it saves you elbow grease in the long run). Deep cleaning should help clean all the build-up dirt, and because of the frequent cleaning, it will be easier and less time consuming.
Turn on the water and wet the floor and the walls of the shower. Wetting these surfaces helps you identify the specific areas you should focus on.
Using a commercial or homemade cleaning solution, apply it to the mildewed or soapy residue areas and leave it to sit for at least ten minutes. After ten minutes, use a cloth and a little elbow grease to clean the nasty stuff off.
Rinse the walls and the floors once you have removed all the grime. The on to the shower doors…. You can use a glass cleaner but distilled white vinegar works just as well.
For both your shower walls and doors, and finish with a squeegee them to remove the remaining water.
To remove limescale from your showerhead, soak it in (you guessed it..) distilled white vinegar. If your showerhead is detachable, remove it and soak it in a large bowl of vinegar, or if it’s fixed, fill a plastic bag with vinegar and tie it around your showerhead using an elastic band. In no time at all, your showerhead will be restored to its original, sparkling self.
You can use shaving foam to clean your mirrors, this stops them from fogging up when your bathroom gets steamy. Just apply a thin layer of shaving foam and then wipe off for a shiny, steam-free mirror. You can also use it on your shower doors too for a fog-free shower!
5. Clean the loo
Always start with the toilet bowl. Use a simple toilet cleaner and a scrub brush to clean the surface. Leave any toilet cleaner to sit in for at least twenty minutes before you flush it away.
Commercial toilet cleaning tablets can be expensive, harsh and bleach heavy. Alternatively, you can use dishwasher or even denture tablets and leave in the bowl overnight if it needs a deeper clean or to rid the bowl of any staining.
(Coca Cola in the bowl overnight is another good trick, what makes Coca Cola bad for your teeth makes it great for removing rings, build-up and stains from your toilet bowl. Pour a can around the rim of your toilet so that it coats the entire bowl and let it sit for a few hours to work its magic. Scrub with a toilet brush, then flush).
While the bowl is fizzing away you can close the toilet lid and disinfect the entire exterior of your toilet and pedestal. Pay close attention to where you grab the seat to lift it and the flush handle in particular.
Finally, disinfect the whole seat and the rim of the toilet bowl. If you have a resistant build-up of hard water residue under the rim you can get to work on it with a pumice stone (and consider a rimless toilet next time!).
Consider using paper towels to clean in and around the toilet when you deep clean, this avoids bacteria laden cloths going in with your wash and sewer blocking wipes going down the drain.
Be wary of toilet blocks. Bear in mind the term ‘plumbers mate’ is a term used for cistern blocks for a reason!
To unblock a drain, pour down a cupful of bicarbonate of soda. Wait two or three minutes, then follow it with a cupful of white vinegar. After an hour or so, pour very hot water down the drain, and this should clear out any unwelcome gunk.
6. Cleaning the floors
For a good clean you’ll need a good mop after a good sweep.
Avoid bleach solutions unless there is an illness in the house (bleaching the floor is a fume laden and unnecessary practice). Hot, soapy water and a little anti-bacterial spray will clean and sanitise efficiently enough. You can also mix it with one tablespoon of bicarbonate of soda for any tough dirt. Make sure you dry the floor thoroughly once you are done to avoid slips.
Keep those windows open for as long as possible, run yourself a bubble bath and enjoy!
See more of our projects by Simon Turner
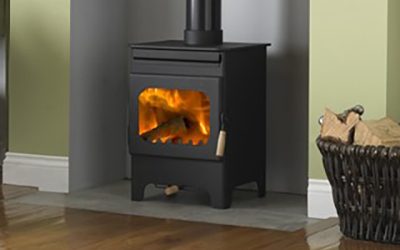
Are you considering a wood burning stove? – we answer your questions!
Wood burning stoves are a great choice for your home, both aesthetically and practically. As well as adding character and warmth, stoves are energy efficient and can help you save money on your energy bills.
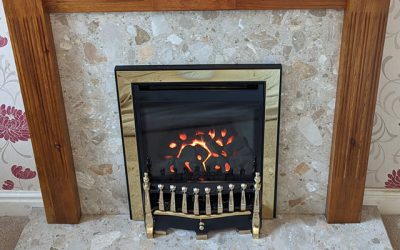
Installation of the Durlston Balanced flue gas fire
A lovely installation of the Durlston Balanced flue gas fire with the brass and black trim and fret.
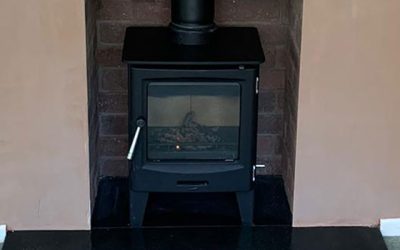
The installation of the Capital Fireplaces Woodrow 5kw Stove
The installation of the Capital Fireplaces Woodrow 5kw stove surrounded by the rainbow brick chambers in the aperture creates a beauty of a focal point.
New Bathroom fitting completed to the highest standard
Beautiful, elegant, and completed to the highest standard… There is no question why our customer has been left with nothing but complimentary comments about our company, the workmanship, and their new and improved bathroom.
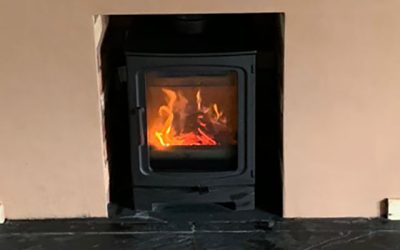
Cast Tec Horizon 5 multifuel stove installation
The installation of the Cast Tec Horizon 5 multifuel stove completed by our HETAS engineer looks fantastic in the recess with the Capital rustic brick chambers.
Capital Fireplaces Woodrow Burner
The Capital Fireplaces Woodrow burner looks perfectly suited to the space and design of the chimney breast.
New and improved bathroom designed & fitted
There is no question why our customer has been left with nothing but complimentary comments about our company, the workmanship, and their new and improved bathroom.
Installation of the Elgin and Hall Huxton
A lovely installation of the Elgin and Hall Huxton electric suite.
The Dimplex Dumfries in black
The Dimplex Dumfries in black with the spacer lights up beautifully to create a feeling of warmth.

