Tips on How to Keep Your Bathroom Looking Like New
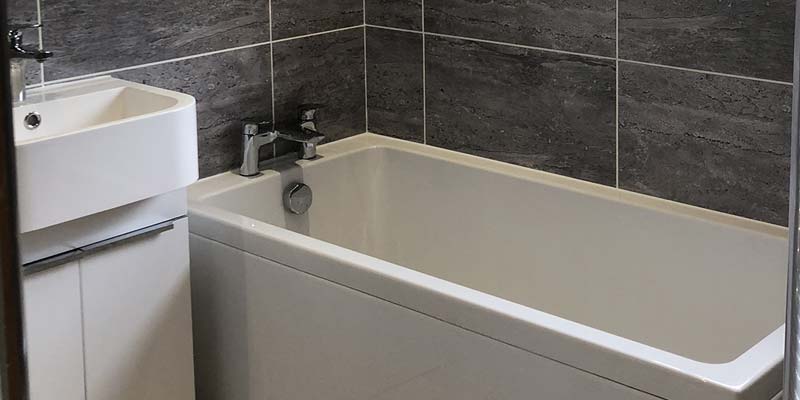
Project summary
Over 35 Years Trading
Accredited and Experienced
Happy Customers
Tiles and Grouting – Walls and Floor
You Will Need:
– An old toothbrush
– White vinegar
– Bicarbonate of Soda
– Specialist cleaner if there is severe staining and mould*
– Rubber gloves
*It is not recommended to use bleach or a strong cleaner on the grouting if it was not originally white as it will remove the colour!

The best cleaner to use, that is not as harsh as bleach or a bleach-based specialist cleaner, is to mix some bicarbonate of soda with some vinegar to make a paste and brush this onto the grout with an old toothbrush. Leave this to work for about 30 minutes then rinse with warm water. If there is still some dirt or mould then the process can be repeated.
If you decide to use a specialist cleaner (these are usually bleach based) then remember to open the bathroom door and windows to ventilate any fumes from the chemicals and also wear rubber gloves.
Once the grout is clean you can tackle the tiles, but bear in mind what they are made of and how they are decorated. For plain ceramic tiles you can use the vinegar and bicarbonate paste and a scouring pad, but if there is a printed pattern on the tiles then a soft sponge or cloth is much safer. If your tiles are made from marble then do not use vinegar or harsh cloths because you will damage the surface. As with the grout, if there is severe staining or mould then you may need to use a specialist cleaner. Finish by rinsing thoroughly with clean water and then dry with an old towel or clean cloth.
The Shower Head
The information below is from Mira Showers.

- Remove the showerhead from the hose. Be careful not to lose the rubber washer when you do as this stops water from leaking between the head and the hose.
- Put the shower head in a bucket or plastic container and cover it with white vinegar.
- Leave the shower head to soak in the vinegar for at least 30 minutes, preferably around an hour. If your shower head is brass, do not leave it in the vinegar for any longer than 30 minutes.
- Take the shower head out of the vinegar and rinse it with water.
- Remove any remaining lime scale with an old toothbrush, paying special attention to the nozzle.
- Rinse again with water and polish with a soft cloth.
- Reattach to the hose and turn on the shower to flush out any remaining lime scale.

- Take a plastic bag that is big enough to fit over your showerhead and half fill it with vinegar.
- Place it over the head until the head is completely submerged in the vinegar and use some string or an elastic band to tie it in place.
- Leave for at least 30 minutes, preferably around an hour. If your shower head is brass, do not leave it in the vinegar for any longer than 30 minutes.
- Turn on the shower to flush out any deposits left inside the showerhead.
- Repeat the process if necessary until all the lime scale has gone.
Shower Glass
Get an old spray bottle and mix up a solution with half water, half vinegar and spray on to your shower screen. Depending on how bad the problem is, you may need to use the rougher side of a non-scratch scouring pad with a dollop of elbow grease, before wiping it off and buffing it up with a dry cloth.
Prevent lime scale build up on the glass by always using a squeegee to remove excess water after every shower.
Note: To be safe it is best to clean a small inconspicuous area first to be sure the tiles/glass will not be damaged.
See more of our projects by Simon Turner
Tips for deep cleaning your bathroom
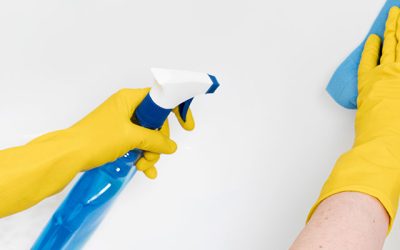
It’s a chore that few of us enjoy but deep cleaning your bathroom can prevent illnesses and infections as well as making it a more pleasant place to be generally!
Are you considering a wood burning stove? – we answer your questions!
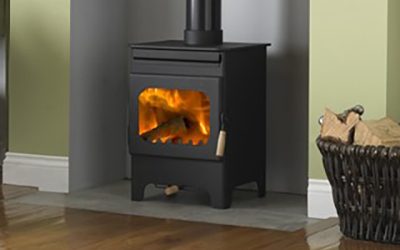
Wood burning stoves are a great choice for your home, both aesthetically and practically. As well as adding character and warmth, stoves are energy efficient and can help you save money on your energy bills.
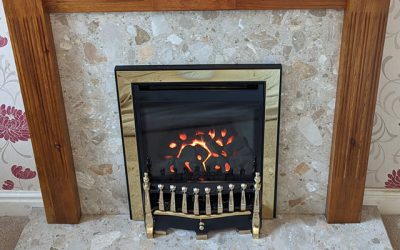
Installation of the Durlston Balanced flue gas fire
A lovely installation of the Durlston Balanced flue gas fire with the brass and black trim and fret.
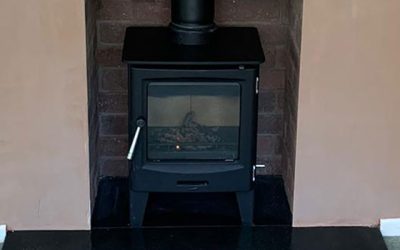
The installation of the Capital Fireplaces Woodrow 5kw Stove
The installation of the Capital Fireplaces Woodrow 5kw stove surrounded by the rainbow brick chambers in the aperture creates a beauty of a focal point.
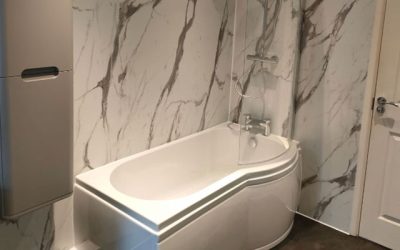
New Bathroom fitting completed to the highest standard
Beautiful, elegant, and completed to the highest standard… There is no question why our customer has been left with nothing but complimentary comments about our company, the workmanship, and their new and improved bathroom.
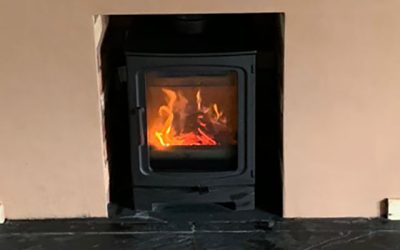
Cast Tec Horizon 5 multifuel stove installation
The installation of the Cast Tec Horizon 5 multifuel stove completed by our HETAS engineer looks fantastic in the recess with the Capital rustic brick chambers.
Capital Fireplaces Woodrow Burner
The Capital Fireplaces Woodrow burner looks perfectly suited to the space and design of the chimney breast.
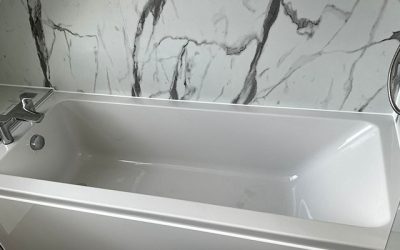
New and improved bathroom designed & fitted
There is no question why our customer has been left with nothing but complimentary comments about our company, the workmanship, and their new and improved bathroom.
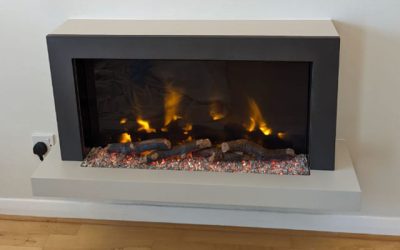
Installation of the Elgin and Hall Huxton
A lovely installation of the Elgin and Hall Huxton electric suite.


